
The stock of larger housings is come to be scarce, and I must hurry in processing the next lot.
また大型ハウジングの在庫が底をついたため、慌てて次のロットを加工中です。
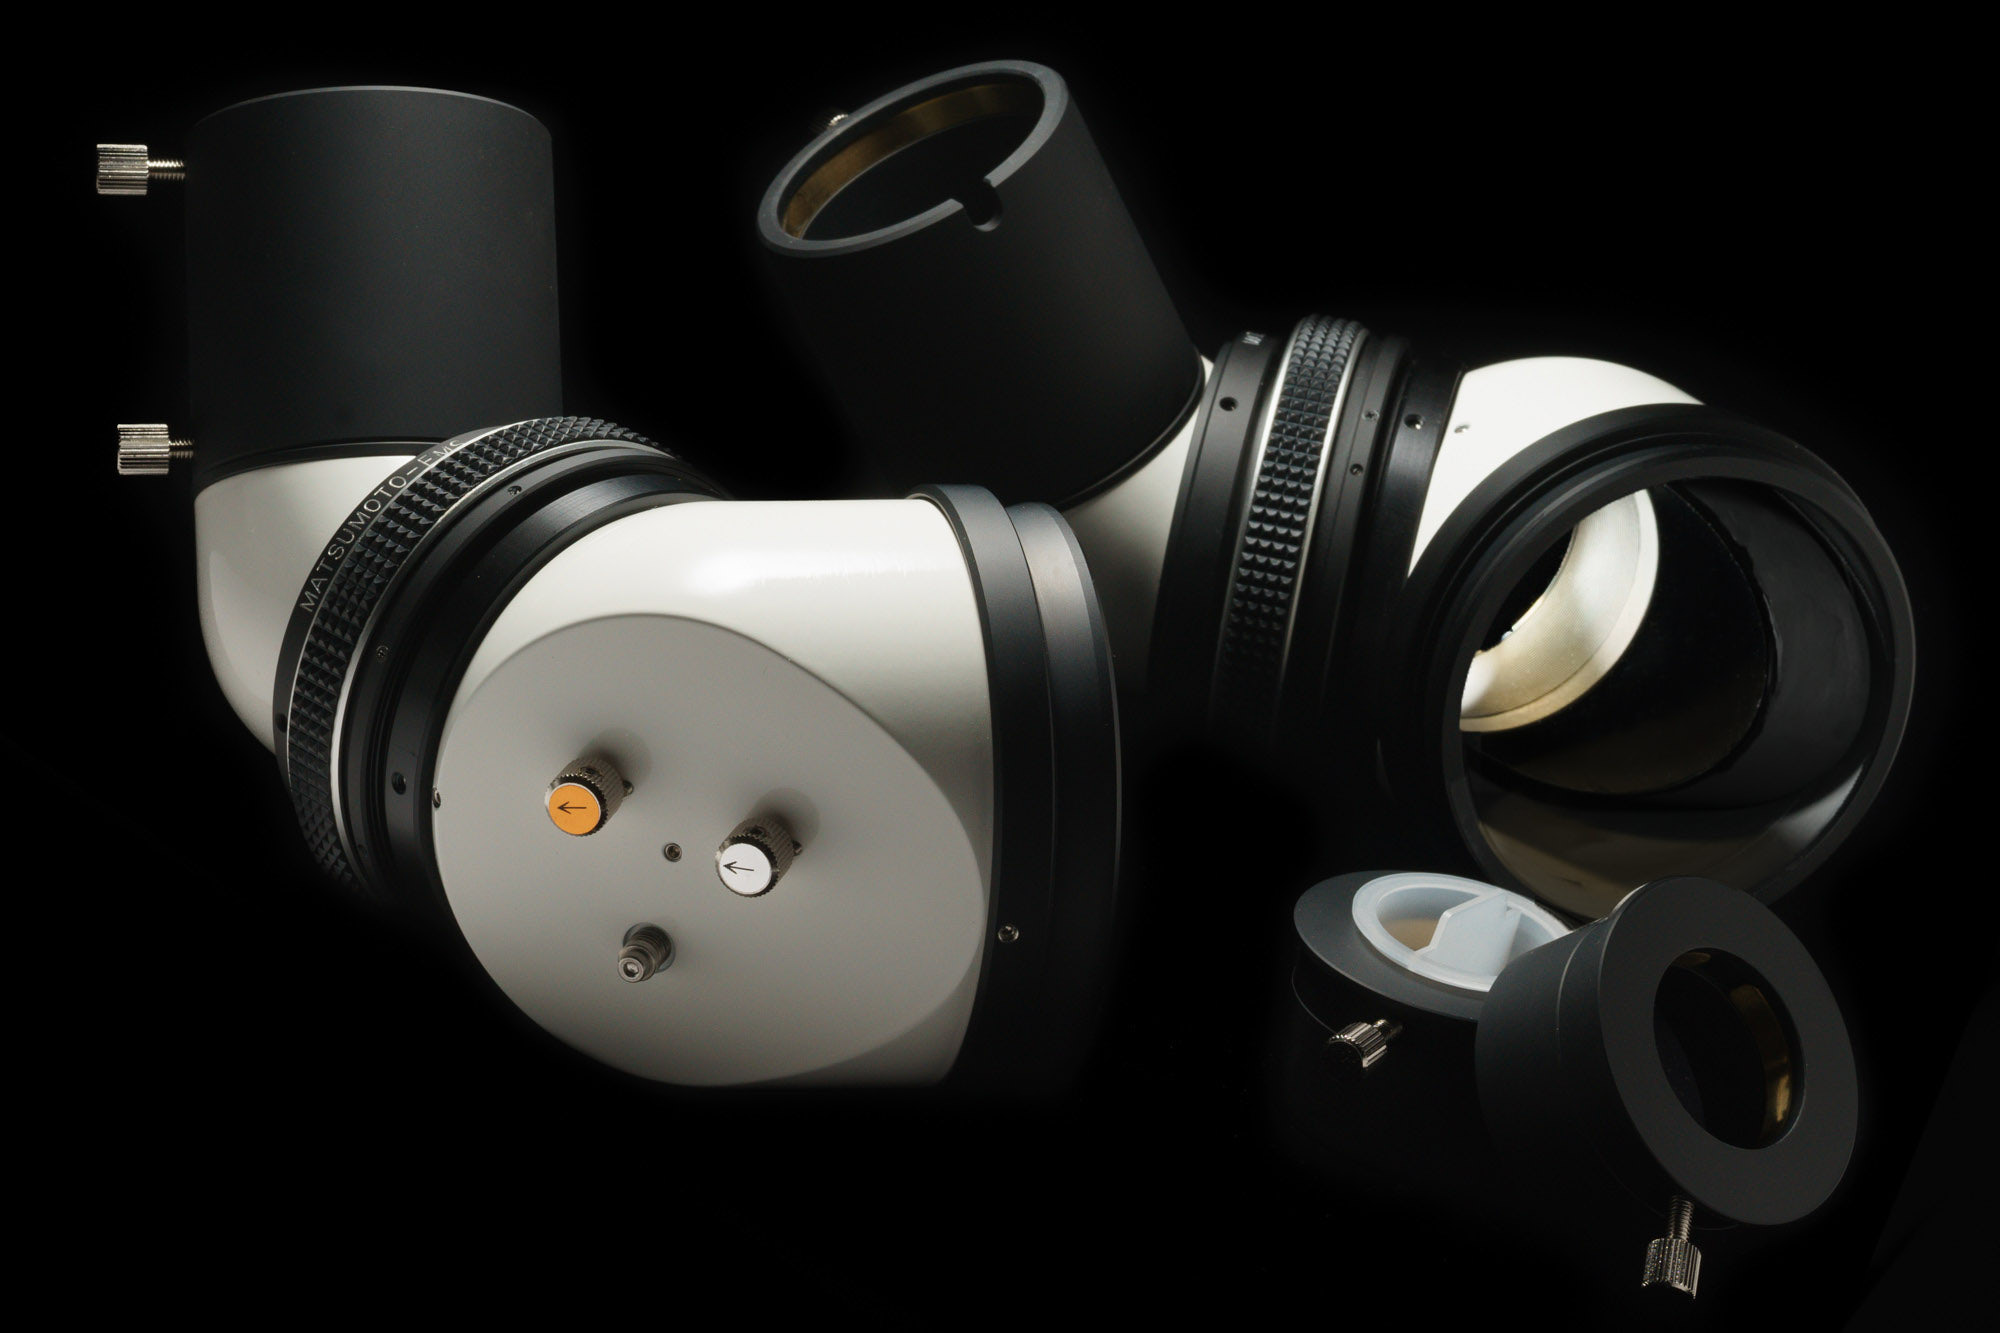
Innovation of Astronomical Telescope
正立ミラーシステム(EMS)を開発した松本龍郎のサイト。 たった2回の反射で天体望遠鏡の像を正立像にします。
Tatsuro Matsumoto; Inventor of the EMS, Erecting Mirror System. EMS offers non reversed upright image with no additional undesirable abberations.
The stock of larger housings is come to be scarce, and I must hurry in processing the next lot.
また大型ハウジングの在庫が底をついたため、慌てて次のロットを加工中です。
90mm adapters for the FTF-3-inch,which is option, are out of frame.
一緒に依頼されていたFTF3-INCHフォーカサー用のアダプターも出来ていますが、撮影の枠から漏れてしまいました。
規格品としては最大級のEMS-UXLですが、20cm~25cm、さらには30cmクラスのBINOの要望が増えて来たため、さらに巨大なEMSを開発中です。
サイト更新にはかなりの時間とエネルギーを割いて来ましたが、未だに、EMSの基礎的な部分の情報が浸透していないことを痛感します。最近は、極力動画を多用することで、より直感的にご理解いただけるよう、努めております。
The fixed parts of the 20cm-BINO will be only a center plate which will be set at the center of the binosocpe and these rear flanges on the forward top and the focuser setting plate on the rear end. The 20cm-objective units will be the attachable components.
常時的なBINOの構造体としては、中央プレートの前後端にセットした対物後部フランジ(今日完成したパーツ)とフォーカサーをセットするための手前のメガネ型プレートのみで、対物ユニットはEMS等と同じく、着脱パーツとします。最重量パーツはせいぜい6KGであり、運搬は極めて楽なはず。

A pair of the IPD helicoid spacers and a pair of the adapters for the FTF-3-inch are ready to be anodized.

ご承知のように、大口径屈折は、対物側に極端に重心が偏るのが悩みです。(反射望遠鏡と逆ですね。)架台の搭載加重に余裕があれば、天地(水平時の)のバランスと鏡筒前後のバランスを分けて対処しても良いのですが、搭載加重に全く余裕がない場合は、何とかメインのウェイトで前後のアンバランスもキャンセルしないといけません。
下の写真のように、以前にもこの手法を用いて成功しています。
ただ、ウェイトの移動の影響が2次元で効きますので、原理を良く理解できない方には使いにくいかも分かりません。今回はユーザーが私自身なので、その点は全く問題なし。^^ (お客様の仕事をしてみて、一般の方の大半は、天秤棒よろしく、一次元のバランスの概念しかお持ちでないようです。そうした方は、使い方に面食らうかも分かりません。理解さえすれば、非常に合理的な方法だと分かるんですけどね。)
The lid is as important as the main parts because it protects the lens for far more longer time than the lens is actually working.
レンズが実働する時間よりもはるかに長い時間、それを守るわけなので、蓋も極めて重要な部品。
寸胴鍋にセットで付いていた蓋を利用しない手はありません。^^;(意外に難しい加工でした。)
I am making the simplest 90mm(3.5-inch) focuser for my 20cm-BINO in the making. Now, most of the problems are solved for realizing the portable 20cm-BINO.
20cmBINO用のシンプルな大型フォーカサーを製作中です。
長年諦めていたスロット加工(内溝)の環境を(工夫で)整え、シンプルな大型のラックピニオン式フォーカサーの実現に至りました。
