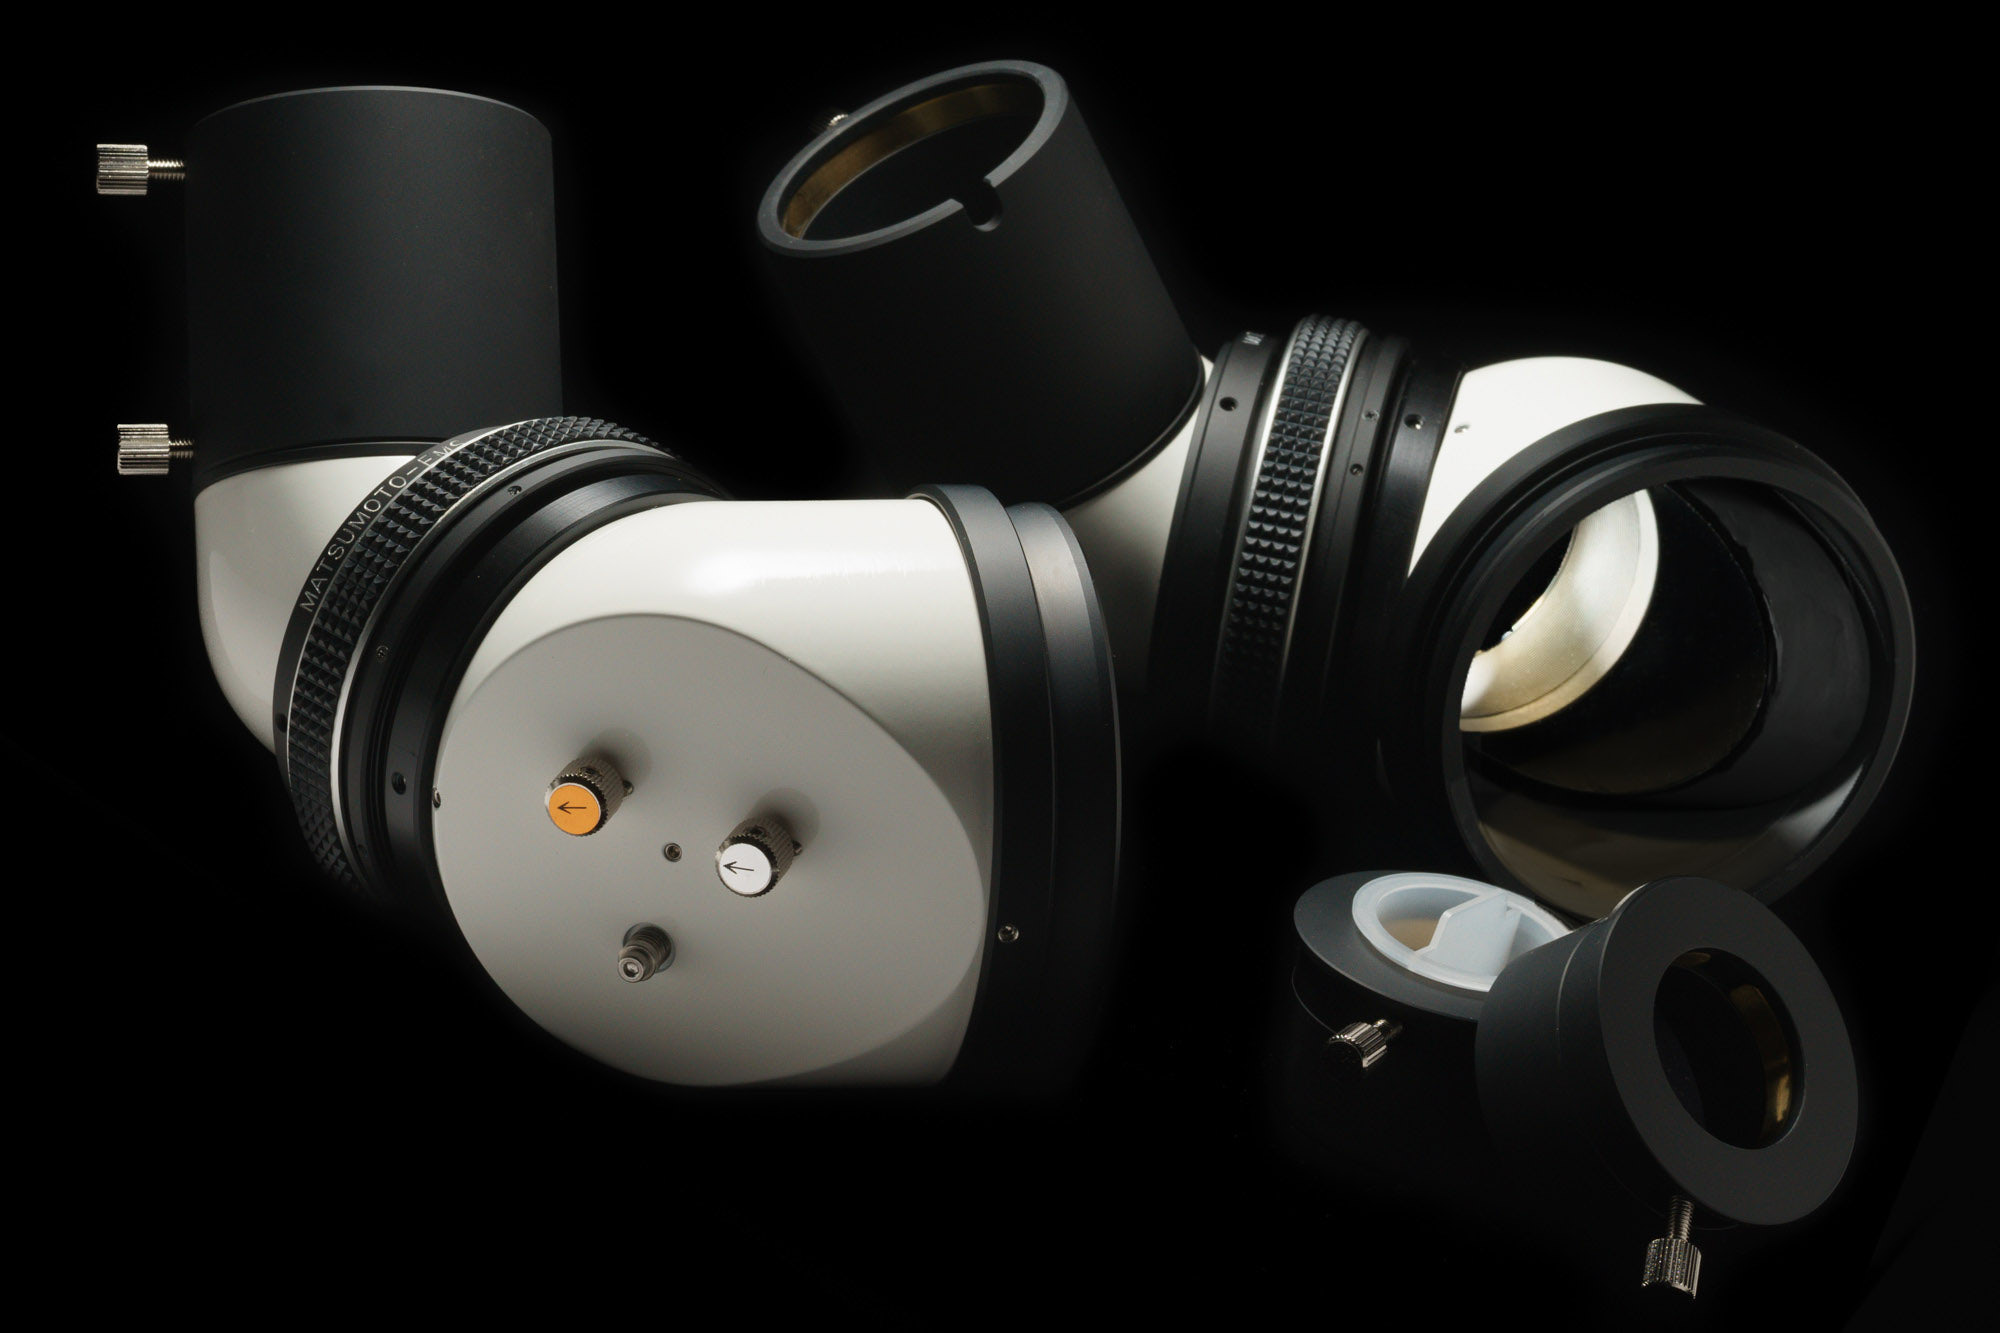


①導入経緯
幼少の頃から天文に興味があり、子供向け宇宙図鑑を何冊も買ってもらったり各地の観望会に連れていって貰っていたりでしていましたが、小学校高学年辺りから段々と天文から離れていってしまいました。それからずっと休眠状態が続いていたのですが、5年ほど前に全く関係ないところから双眼望遠鏡を魅力的に紹介しているサイトに出会い、天体観望熱の再燃と、新たに松本さんが製作されている双眼望遠鏡に対する興味に火を点けられました。
倍率の計算式すら知らない状態からの再スタート、いきなりbinoというのは経済的にも知識の面でも敷居が高かったので、手持ちの双眼鏡を購入。東京の市街地でも肉眼では想像出来ないほどに星がみえる事に驚き、勢い衰える事なく卓上マクカセ、単眼屈折、ドブソニアンと歩を進めていきました。
眼視の世界に夢中になっていく一方で、松本さんのサイトのバックナンバーはじめ、先達ユーザーの方々のレポートも追っていました。
使用していた機材には、
・双眼鏡は長時間の使用で手ブレと重さが気になる。口径や倍率の面からも一つの天体をじっくりと観察するには力不足。
・単眼望遠鏡は光軸調整、観望姿勢、単眼裏像倒立像などで違和感疲労感。
それぞれ光学性能の面でというよりも、機材そのものの根本的な部分での不満を感じていました。
そういった中で天文再燃のきっかけであったBINOへの憧れは褪せるどころかますます大きくっていったこと、色々と機材を所有したり覗かせて貰ったりする中である程度自分の理想の星見のスタイルが定まっていったこと、また私生活の方で節目を迎えたこともあり、松本さんへのオーダーに至った次第です。
②使用鏡筒ーCffについて
自分は普段自宅から星を見る、機材を使う機会は滅多になく、スケジュールに余裕が出来た時にある程度気合を入れて、星見の為だけに車で遠征に行く事が殆どです。なので無理が生じない程度に出来るだけ大きい13cmクラスを選択、複数機材の運用管理するほどの余裕がなく、BINOの導入に際して手持ちの機材を全て処分し、唯一の所有機材とする事に決めていたので、低〜高倍率まで満足度の高い見え味が期待できるハイエンドの三枚玉アポを探す事にしました。また、高倍率の観望よりはなるべく低中倍率、広視界(出来れば最高実視界3度以上)を中心に楽しみたいと思いました。
TOAは性能に定評がありますが、このクラスの中でも一回り大きく重いのを販売店でみて諦めました。TECは14cmなのにTOAより軽量に出来ているのが魅力でしたが、実視界3度を取るには焦点距離が少し長過ぎました。APM-LZOSとAstroPhysicsは理想的なスペックでしたが、値段がTOAを基準にしてもひと回りふた回り高い、そもそも後者に至っては入手自体が困難という事で、ちょっと手が出ないと思っていました。
悩んでいる中でCloudynightsのフォーラムで見つけたのがCFFというポーランドの新興メーカーの鏡筒でした。日本では代理店もなく殆ど認知されていませんが、
・140mmf6.5の短焦点寄りなレンズ設計
・レンズ組み付け精度、温度順応に比較的寛容なオイル充填式
・3枚玉140mmにしては控えめな大きさ、重量(鏡筒+3インチフェザータッチフォーカサーで8.1kgでした)
などの点はbino向きでないかと思いました。上に挙げた他の高級鏡筒と比較をした海外ユーザー達の評価も悪くなく、問い合わせた際の対応や相談にも丁寧に応じて貰ったこと、そして他の鏡筒と一線を画すデザインがとても魅力的に思えたという事もあり、ここの鏡筒を選択する事にしました。
ちなみに値段ですが、BINO用に2本まとめて注文したということもあってか、送料含めてもTOAと変わらないか、専用ケースなど考えるとややお値打ちなのではといった値段にして頂けました。とても良い選択が出来たと個人的には思っています。
肝心の光学性能について、このクラスの鏡筒を他に覗いた経験がない為詳しいレビューは出来ませんが、コントラスト、視界のクリアさが卓越している印象です。月惑星、明るい恒星や地上風景などをみても色収差は感じられず、360倍を試しに掛けてみても鑑賞価値のあるシャープネスを保っていました(勿論低倍率時と比べると大気の影響もあり若干劣りますが)。
140mmの三枚玉という事で極端なトップヘビーには悩まされましたし、あちこちに気軽に運ぶにはケース含めると大きすぎる重過ぎる、大気の影響も受け易いですが、それを補って余りある像質、大口径の解像度です。自分自身はあれこれと鏡筒を比較する趣味はないのですが、とにかくこの鏡筒が見せてくれる世界にはとても満足しています。恐らく同社の屈折鏡筒は現在日本で所有しているのは自分だけだと思うので、ご興味のある方がいらっしゃれば覗いて頂く機会があれば良いのですが…
③双眼効果について
鏡筒自体の性能について述べさせて頂きましたが、それ以上に単眼と双眼の違いは驚異的なものがあります。母に月をみせた時、最初眼幅調整が分からず単眼で覗いていたのですが、上手く双眼で見ることが出来た時には「望遠鏡を2本並べている意味がやっとわかった!」と叫び声をあげていました。
立体感、解像度、コントラストの向上などの効果は他のユーザー様が証言している通りですが、なかなか実際に覗いてみないと本当の意味で実感するのは難しい様に思います。自分も先達の皆様のレポートはかなり読み漁り、binoの見え味について想像は膨らませていたのですが、実際に覗いた時の感覚は想像とは全く異なるものでした。
喩えとして適当かわかりませんが、単眼とbinoは自分にはアップライトピアノとグランドピアノの違いに似ている様に感じます。音質だけをとって「いい音」を出すピアノはアップライトにも数多ありますが、キータッチ、ダイナミックレンジ、音の拡がり方など前者と後者では同じピアノとして一括りにすることすら憚られると、実際に演奏すると誰でも感じるほどの違いがあります。3枚玉アポで双眼を組んだ自分が言うのも難ですが、用途にもよりますが、運用環境さえ整えば同じ値段でも輸入アップライトより国産普及品グランド、高性能アポ単眼よりもアクロ、セミアポ双眼の方が感動、満足度が大きいのではと個人的には思ってしまいます。それほどまでに双眼の威力は凄まじいものでした。
④光軸調整について
自分に縁のあるピアノをbinoのたとえ話に持ち出しましたが、両者には一点、決定的に大きな違いがあります。ピアノは自分の理想の音を出すために長い鍛錬が必要ですが、binoはいくつかのポイントを押さえておけば、あっという間にそのbinoが持つ最高の像を見ることが出来るという点です。
かくいう私も実際にbinoを持つまでは光軸調整に一抹の不安を抱いていました。「市販双眼鏡メーカーが精密な機械をもって調整している光軸を、自分の眼で合わすことが出来るのだろうか」「厳密に光軸の合っていないbinoを気付かずに覗き続けて、binoの性能が発揮出来ないばかりか眼を悪くしてしまう(?)のではないか」。結論から言えば全くの杞憂でした。
いわゆる御三家をはじめとする有名光学メーカーの双眼鏡でさえなんらかの原因で、許容範囲内だったとしても光軸がズレるものが珍しくない中で、自分で納得いくまで調整出来るbinoは、市販の正確に組み付けられた高級双眼鏡と同じかそれ以上に気持ちよく覗く事ができました。
経験上文字を読んでいるだけでは不安は拭いがたいと思いますが、実際に触ってみれば文字通り「案ずるより産むが易し」、反射望遠鏡の3点ネジによる光軸調整はもとより、フォーカシング作業よりも容易に素早く行う事が出来ました、と体験談を述べるにとどめようと思います。ただ一点だけ「完璧な光軸のbinoでも覗く人間の視軸が輻輳したり斜位があればズレてみえるし、逆もまた然り。注意が片手落ちになってはいけない」ということだけ念頭においておいた方がいいかもしれません。


⑤中軸架台ー運搬、取り回し、操作性について
140mm3枚玉アポという事で、覚悟はしていましたがやはりお気楽観望用の機材の範疇からは一歩踏み出しています。しかし中軸架台、単体鏡筒管理を中心に松本さんにbino全体のデザインをシンプルに突き詰めて頂いたおかげで、とても簡単に運用させて頂いております(参考になりそうな写真を何枚か撮ってみました)。逆に中軸架台などがなければ、僭越ながら自分は天文ファンの中では比較的体力のある方だと思いますが、このクラスのbinoを導入しようとは考えられなかったかもしれません。
究極と言っても過言でない様に思われるシンプルさを達成しながら、運搬、組み立ての簡便さから、鏡筒平行度、200倍超の追尾も微動の必要性を感じない滑らかさ、フリクションを自由に調節可能にする強力なクランプ機構など、必要な機能は十二分に備わっています。自動導入、追尾などを考えれば他の架台を考える余地がありますが、フリーストップの架台として、特に大型binoでは他のものを検討する気になれません。また、鏡筒リングに取り付けて頂いたL字型金具ハンドルとあわせて、比較的低い位置で望遠鏡を取り付ける事が出来る点も運用のし易さに一役買っていると思います。
⑥常用アイピースと前後バランス
アイピースは良いものを最小限の組合せで、という事で、Masuyama32mm、Nikon nav-hw17mm、(14mm、12.5mm)、10mm、2倍powermate、28倍約3度から182倍0.56度を常用しています(より高倍率を使用したい場合はpowermateと単焦点アメリカンアイピースを組み合わせます)。見え味の他に、重い2インチアイピースで統一することでシビアな前後バランスを解消するという狙いもありました。しかしそのままでは一番軽いmasuyama(実測441g)からnav-hw10mm+powermate(1073g)まで、大きくバランスが崩れます。色々と試行錯誤した結果、masuyama使用時にpowermateを入れたネオプレーン製レンズケースをハンドルに掛け、持ち手の上に乗せると安定性、操作性を損なわずバランスを取る事ができました(青い金具のレンズケースにはフィルターが入っており、フィルターボックスとあわせてアイピースより素早く交換が出来ます)。これにより常用アイピースの範囲で、フードの長さ調整などバランスを取り直す手間を殆ど掛けることなく(カウンターウェイトの位置調整だけで)、無駄なウェイトを極力廃しながら快適な操作をする事が出来るようになりました。
また当初天頂に鏡筒を向けた際フォーカサーの内側ノブがピラーに干渉しましたが、松本さんにノブを取り替えてもらうことで、水平から天頂まで360度自由に鏡筒を振り回すことが出来る様になりました。
⑦初遠征
8月11日は月齢新月とペルセウス座流星群、そして自分の空きスケジュールが重なる滅多にないほど良い条件に恵まれた遠征の機会でしたが、私の住む関東近辺は全滅。普段なら諦めるのですがこれ以上初遠征の機会を先に延ばしたくないという事で、岩手の某高原まで遠征しました。お盆の帰省ラッシュと重なり行きに掛かった時間が9時間ほど(帰りは6時間弱でした)、現地に到着したのが22時過ぎでした。
やっとの思いで到着した現地は満天の星空、流星群の極大日が近づき、彼のしし座流星群ほどではありませんが、もはや有り難みが薄れるほど大小流星が飛び交っています。早速望遠鏡を組み立て(暗闇でもあっという間でした)skysafariのアライメントがてら火星から観望開始、土星〜天の川を上り主要な天体を拾いつつ秋の天体まで観望していきました。スカイサーファーと7倍正立ファインダーを装備していたのですが、masuyamaで3度あればファインダーなしで火星の導入は容易で、その後高倍率でアライメントしてしまえば後はskysafari+傾斜センサー、エンコーダの独壇場、ついに一度もファインダーを覗くことなく飾りのまま終わってしまいました。超広視界アイピースを使った観望はこの世からどこまでも遠く美しく離れた世界、殆ど望遠鏡を覗いているという感覚がなくそのまま宇宙を自由に漂っている様な錯覚に陥ります。3時間弱経ったところで雲が一面に広がり無念の撤退となってしまったのですが、長距離遠征してよかったと思えるだけの成果がありました。いくつか特に印象に残った天体についてコメントしようかと思ったのですが、二重星、散開星団を中心にひとつひとつが横浜で観望した時とはあまりにも別次元に美しく映えていてコメントし切れないこと、言葉を尽くそうとと試みるほどに実際の感動から離れていってしまう様な感覚に陥ったので、具体的な天体を対象にしたコメントは一旦控えさせて頂きたいと思います。とにかくたった一回の観望でなにか世界観のようなものまでが変わってしまいそうになる経験で、今後の機会が楽しみです。
⑧最後に
思わぬきっかけで再開した天文趣味ですが、自分には勿体ないほどに美しい世界をbinoは見せてくれました。色とりどりに輝きを放つ星々、宇宙の果てで神秘性を湛えながら存在する星雲、銀河、球状星団…それらを眺めながらあれこれと思いを巡らせる時間は、憂い多いこの世界を生きていく大きな糧になります。スケジュール的になかなかこういった機会は取れないのですが、比較的体力や眼が充実している内にこの様なbinoを手にする事が出来た幸運と、この世界に導いて頂いた先輩ユーザーの方々、鏡筒を供給して頂いたcff telescopesのCatalin氏、そして素晴らしいEMS-binoを発明、製作して頂いただけでなく、その普及に尽力されてこられた松本さんに感謝致しまして、長文になってしまいましたがレポートを終了させて頂きます。ありがとうございました。
・番外編ー改良点
ここでは実際に使用して、今後手を加えていこうかと思案している点を2点だけ報告させて頂こうと思います。
フィルターボックスについて、手持ちの中でNDフィルターとidasのlpsフィルターは問題なく使用できたのですが、baaderのUHCフィルターが厚く、スロットに入りませんでした(写真有)。そういったものは使用しないという事にしようかと思っていますが、一応報告だけさせて頂きます。
もう一点は操作ハンドルについて、200倍を超えての操作開始時に、少しガタを感じます(中軸架台の問題ではなさそう)。アリミゾのロッドホルダーを固定するネジを2点留めにする事で更に操作性が向上するかも…などと素人考えを巡らせていますが、これももし今後のご参考になる事があれば幸いです。
Comment by Matsumoto / 管理者のコメント;
微に入り細に入り、BINOの運用面での工夫や順応についてまとめてくださり、未来のユーザーさんのみならず、すでにユーザーになっている方々にも非常に参考になるリポートをいただいたと思います。
製作者の意図もしっかり代弁してくださっていて、非常に感激しました。
また季節が一巡した頃にでも、ぜひ追加リポートをよろしくお願いします。^^
この度は、非常に価値の高い詳細なリポートをありがとうございました。
(フィルター枠が厚くてディスケットに入らない場合は、フィルター枠を薄い物と交換すれば解決しますのでご相談ください。(枠は確保しています。))


