Photos below are the tutorial of the shifting directions of the image of the right OTA by turnings of the knobs a bit to the counter clockwise.
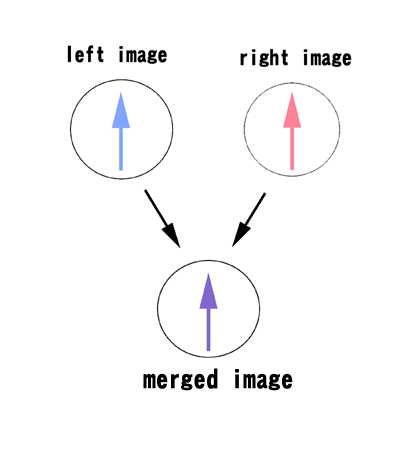
Photo 1 shows the original position that the two images are perfectly merged.
Assume that the left image is blue while the right image red for the easier instruction.
Photo 2 shows the shift direction of the right image by turning only the Y knob a bit counter clockwise.
Photo 3 shows the shift direction of the right image by turning only the X knob a bit counter clockwise.
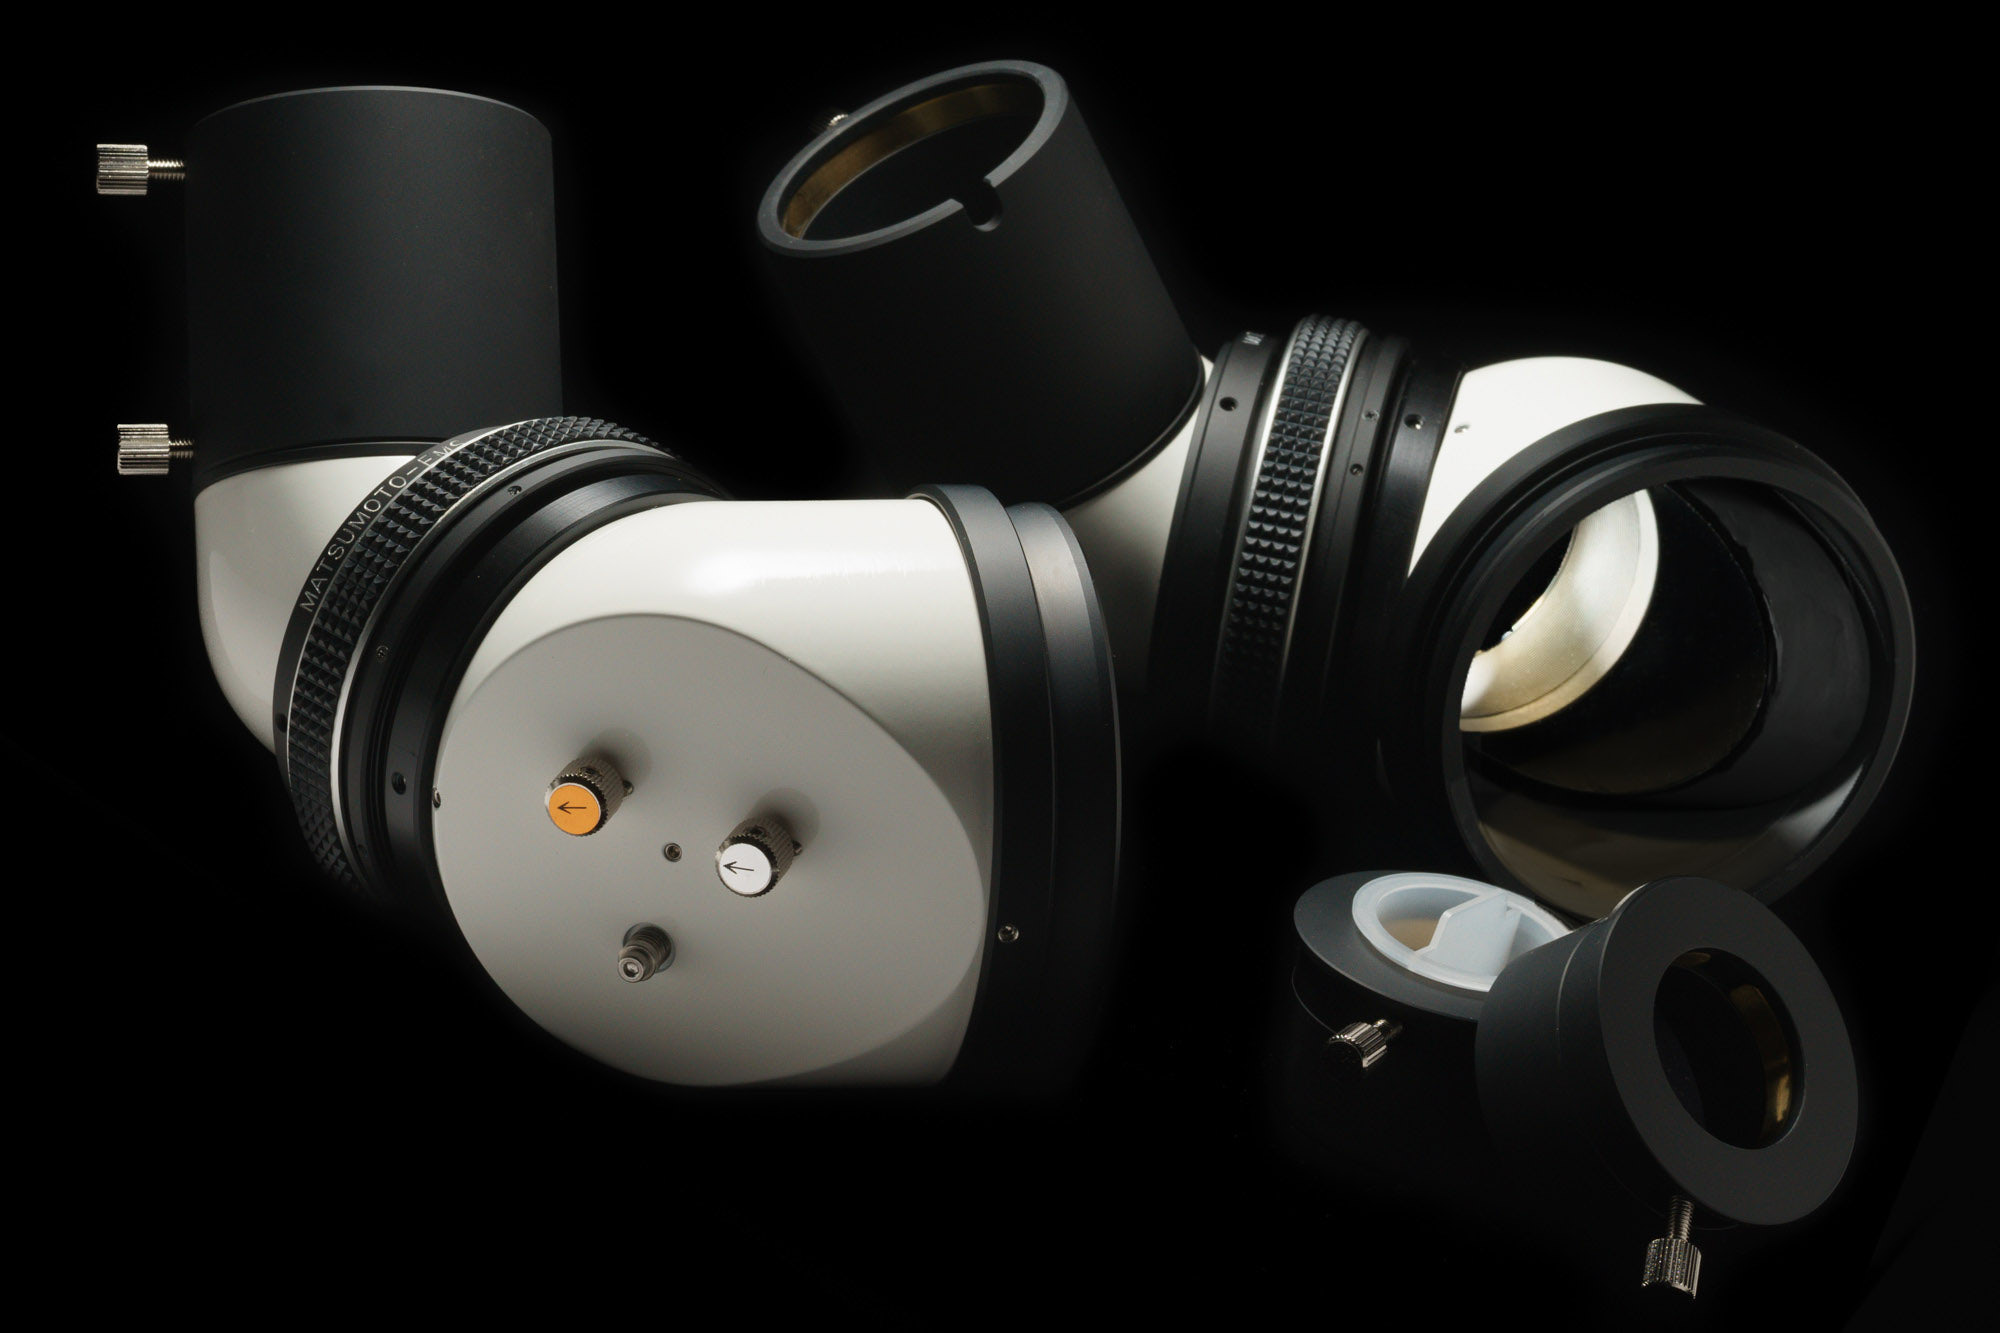
The Principle of the X-Y knobs
光軸の微調整は、右の鏡筒の像のみをX、Y方向に動かすことで行います。

写真1は、X-Yノブが原点位置で、左右の像が完璧に合像している状態を示しています。 説明を分かりやすくするために、左の鏡筒の像を青、右の像を赤と仮定します。(現実にはあり得ませんが、ご理解ください。)

写真2は、Yノブだけを反時計回りに少し回転させた時の右の像(赤)の移動方向を示しています。

写真3は、Xノブだけを反時計回りに少し回転させた時の右の像(赤)の移動方向を示しています。