Example of the use of BORG-7315 / BORG直進ヘリコイドSの応用

The top ends of all the EMS series are common as 2″ filter flange as you know.
And it means that you can enjoy every kinds of application examples with many adapters. With some appropriate spacer rings at the barrel of 2″ eyepiece, you can even realize the same focus between the different focused 1-1/4″ and 2″ eye-pieces.

改めてご説明するまでもなく、EMSの接眼部は非常にユーザーフレンドリーで応用が広い構造になっています。すでに上手に応用なさっている方もおられますが、まだ十分に浸透していない印象がありますので、改めて一例をご紹介します。
BORGのヘリコイドS(2種類あり)をEMS-UM/US用の31.7ADの基部にセットしますと、非常に便利です。合焦はメインフォーカサーでも可能なわけですが、写真のパーツに加えて、2インチアイピース用の調製リングを併用すれば、主力に使われる31.7サイズアイピースと2インチアイピースを同焦点にすることが可能になります。(基部の2インチキャップ部で着脱する。発想の転換です。全体をアイピースだと理解すれば良いのです。)

Great success on the customize of the focuser / フォーカサー改造、大成功!

As it is clear by the photo, the left is “Before” and the right is “After”.
Both of the draw-tubes are fully extended. The stroke is not needed as long as 60mm, but I attached importance on the holding length by the outer tube for the best precision and rigidness in the operation.
左が before で、右がafter です。
両方共最大に引き出した状態。実際、ストロークはこれほど必要ないのですが、外筒による保持長を確保した結果です。(機能重視;摺動の精度、剛性)


The drawtubes are fully contracted. The customized one, the right in the photo, will drastically save the back-focus. Note the zero-profiled draw-tube head of the right one.
ドローチューブを最も縮めた状態。以前から申し上げているように、オリジナルのトップ部品が不適切で、より太い光束の確保のために非常に損をしています。もちろん、バックフォーカスも損ねています。
右の改造後ですが、前回、「ゼロ・プロファイル」と予告していた意味をご理解いただけましたでしょうか。
(実はこの外筒端面U字カットの原理は、EMSの2インチスリーブにも適用していまして、31.7→50.8ADがわずか2mmの追加光路長で使用できるのですが、その2インチスリーブを天地逆に使用しておられる例を見てがっかりしたことがありました。^^;)

The larger  the better is the size of the draw-tube, but it, 60mm in diameter, is the maximum size to replace for the original one, by reusing most of the parts of the focuser.
ドローチューブは太いほど良いのですが、基本構造をなるべく崩さずに(元のパーツを極力再利用して)最大限の径のドローチューブに換装したところです。(以前やっていたカスタマイズは、オリジナルのドローチューブの手前末端部の改造とドローチューブのカットのみでしたが、加工は結構面倒で、むしろ新規な太いドローチューブを換装した方が有利と判断した次第です。もっとも、今度は外筒内径を削る作業が大変ですが、見返りは十二分にあります。)


Approximate experiment assuming the F-ratio of “5”, F5 of the objective lens and the light path of the EMS. This experiment is assumed the OTA as 10cm-F5.  You can see that the original situation is rather hard to get the full aperture of 10cm with EMS.
10cmF5の対物を想定して各々の被写体やカメラの相互距離を目算で設定して撮影しました。
オリジナルのフォーカサーのままで鏡筒だけ切断した場合、この写真のように、F5のフル口径確保は難しくなります。(口径が大きい時は距離を調製して撮影するので、F5シリーズでのケラレの状況はこれと大体同じになるはずです。)


Here is the drastic effect of the customizing of the cheap focuser.
改造後の写真です。劇的な効果がお分かりと思います。

But above all, the utmost merit of this customizing is the enhanced quality of the mechanism as a rack and pinion focuser.  The movement is silky smooth and there is no backlash. It has come to be the level of the FeatherTouch focuser.
しかし、上記の効果にも増して、確認できたさらに大きな副産物は、今回の改造によって、ラックピニオン-フォーカサーとしての性能が飛躍的にアップしたことです。まあ、一品手作り的に旋盤で内外筒の摺合せをしているので、当然なのですが、フェザータッチ・フォーカサー並の操作感と剛性、精度を得ることができました。ラック部以外にはグリスも使用していないので、手が汚れることもありません。(摺動部にはテフロンテープを使用)

もちろん、ご予算が許せば高級な low-profile なフォーカサーに換装すれば良いだけのことですが、比較的小口径(12cm以下)で、資源を有効に活かしたい方には良い選択肢ではないでしょうか。(15cmF5-BINOとなると、やはりもっと大きなフォーカサーが欲しい。)

L bracket for the Nexstar 8SE Mount / Nexstar 8SE 用のL ブラケット

L-bracket for the Nexstar 8SE-Mount for the 90FL-BINO that was posted here before. The groove to fit the parts on each other is the secret that enables the simple joint to be enough rigid.
浅くても嵌合構造にしておけば、シンプルな接続方法でも十分な強度で直角に接合できます。

Contrary to the negative estimation, this bracket is strong enough to hold the
90FL-BINO on the Nexstar 8SE-Mount.
大方の予測に反し、このブラケットは90FL-BINOの保持に十分な剛性を満たします。


The horizontal plate, Arca-Swiss plate is both side of the dovetail, and it allows
flexible usages with the common parts of the light-weight center mount.
水平プレートはアルカスイス規格の両面アリガタなので、あらゆる応用が可能です。先に製作した軽量中軸架台の共通パーツと合わせて、2つの架台(軽量中軸架台とNexstarマウント)を光軸再現性をキープしたまま往復移動できます。

Lunt35-BINO on Nexstar 8SE Mount

example 1 (Nexstar SE Mount)

example2

example3

example4

example5

example6

example7

example8

Reasonable solution for the cheap focuser-2 / フォーカサー改造-2

The U-cut will enable zero-profiled draw-tube end. In other word, the draw-tube will be totally inserted into the outer tube, with no top ring can be seen.

写真のUカットによって、ドローチューブ末端のゼロ・プロファイル(zero-profile)化が実現します。つまり、完全にドローチューブが外筒内に収納されるということ。本例でいくと、ちょうど30mmバックフォーカスが稼げます。
(今日やっと材料屋さんが新年の挨拶に見えました。これで材料の調達が正常に戻りました。^^(更新が数日滞った理由))

Adapter of EMS-US/UM

All the adapters of EMS series are common to use.
You can add 2-inch sleeve on EMS-UM, and you can use the 31.7mm(1-1/4 inch)AD of EMS-UM/US on EMS-UL.
Of course, EMS-UL includes the 31.7 to 50.8AD and you do not necessarily use the EMS-UM adapter, but if you want the low-profiled 31.7mm adapter, it is a good choice.
This adapter consists of two parts, one is the bottom 2-inch cap and the other is 31.7mm AD. You can even set the BORG’s Helicoid-S on the bottom cap.

EMSシリーズの接眼アダプターは、全て互換可能です。
EMS-UMに-UL用の2インチスリーズ(OPTION)を使用することはもとより、EMS-ULに敢えてEMS-UM用の31.7ADを使用することも可能です。もちろん、EMS-ULには標準で31.7ADが付属していますが、よりLOW-PROFILEなアダプターが欲しい場合には、このアダプターは便利です。(全高44mmなので、標準の2インチスリーブ+31.7ADよりも16mm光路長が稼げます。)
また、基部の2インチキャップと31.7AD部分が36.4ネジで分離できますので、基部にBORGのヘリコイドSを接続する等、応用は豊富です。

TSA120-BINO first light report / ファーストライトの感動!

Dear Tatsuro,

I thought you might like an update now that I have had some time to use the Bino-TSA120.
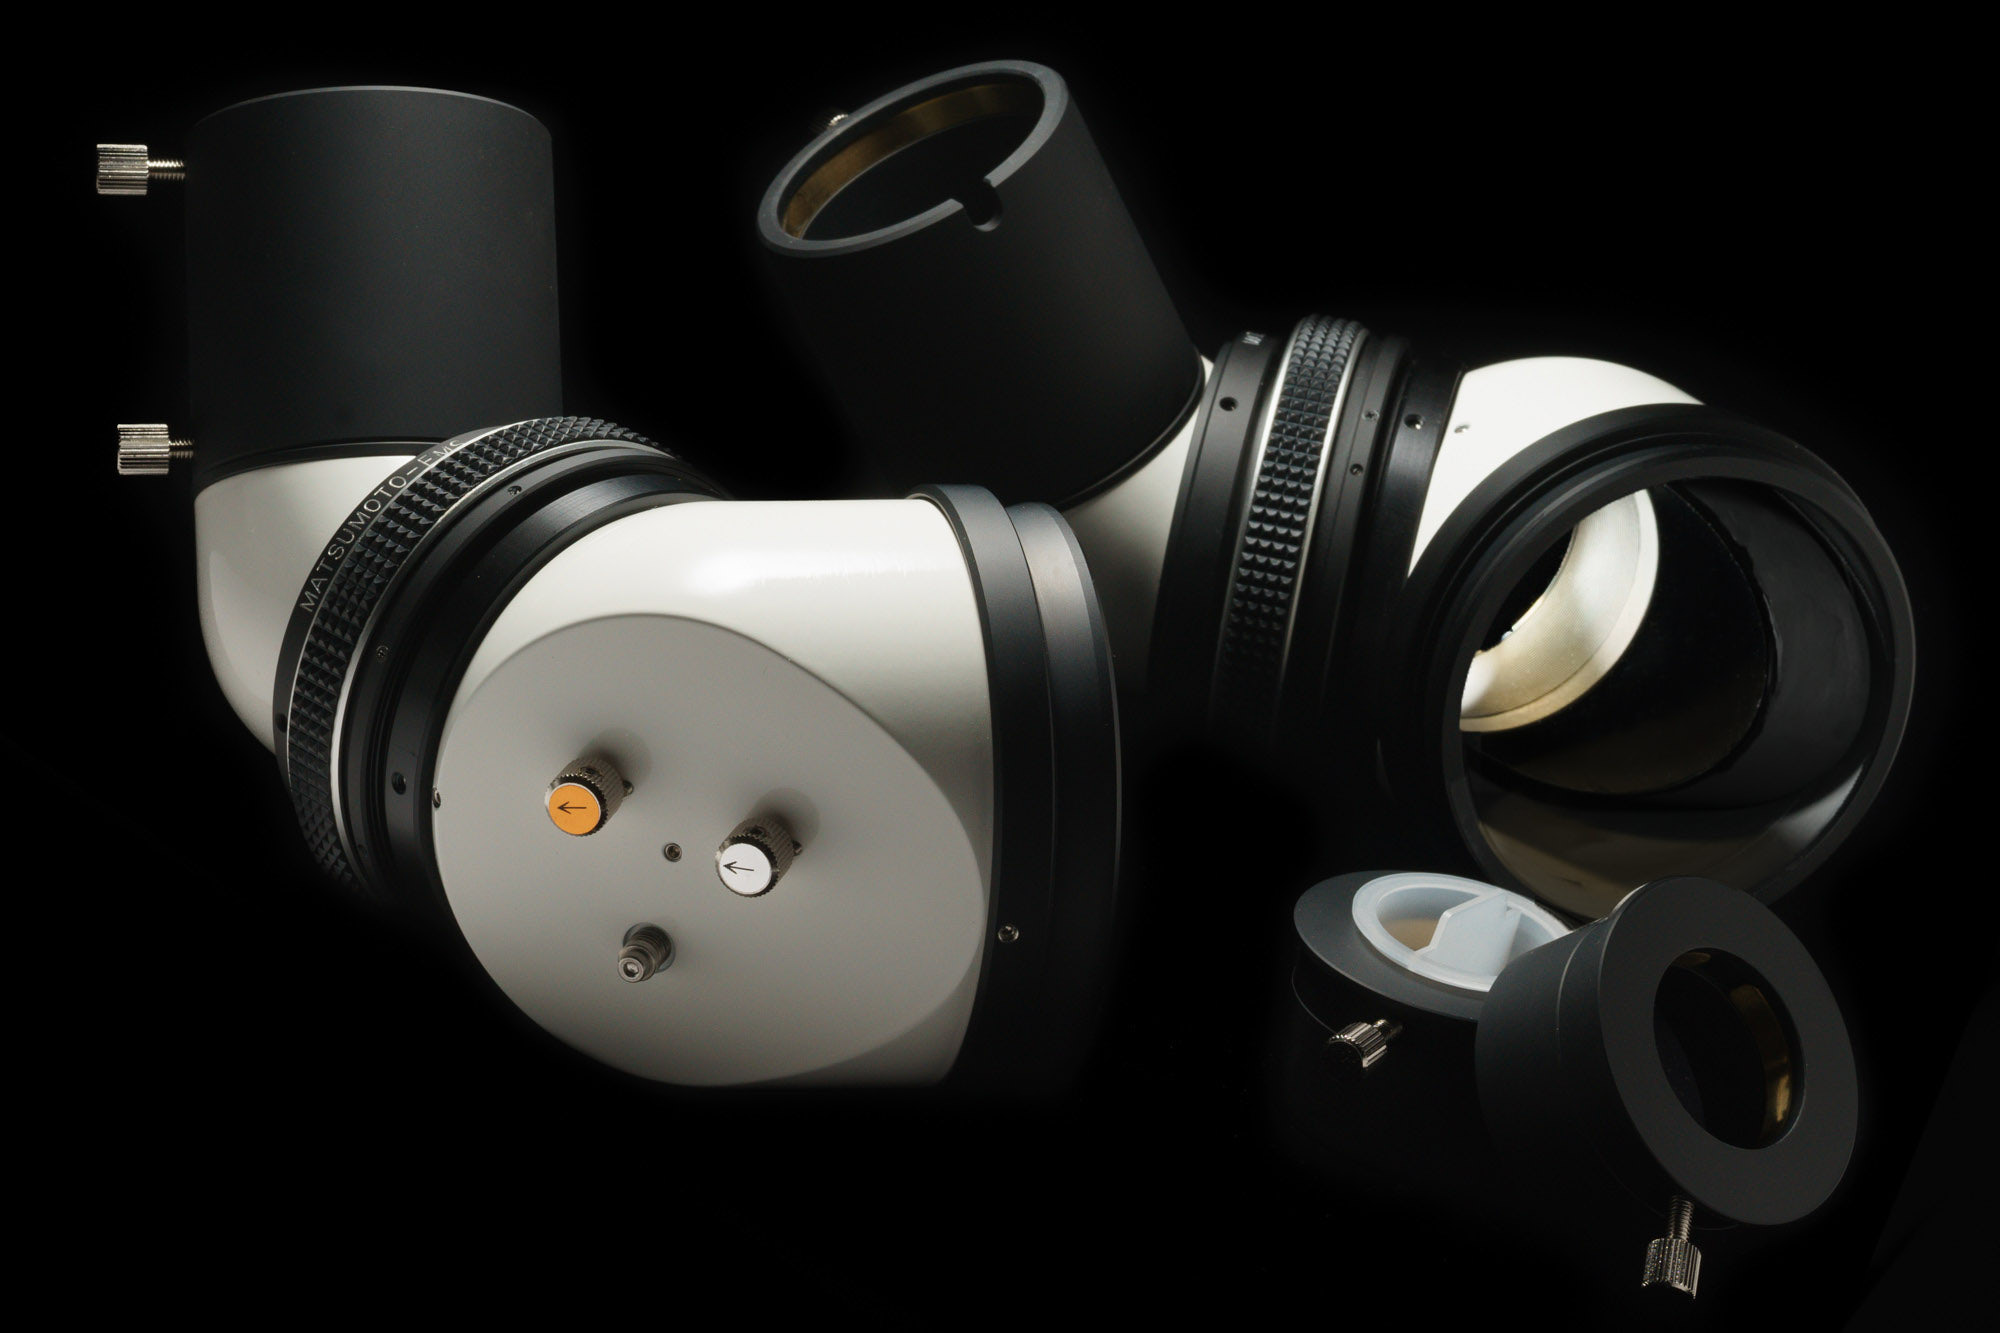
The binoscope is performing beautifully. The EMS-ULS system works so very well. It is a real pleasure to view through and has exceeded my expectations.
We recently compared the Bino-TSA with my friend’s Takahashi TOA150 which was equipped with the Baader MkV binoviewers.
The view through the binoscope was quite noticeably brighter than the TOA150 with binoviewers, in fact the Bino-TSA showed a brighter view than the TOA150 in mono-mode. Our targets were NGC104, NGC3372, NGC4755, M42 and M45.
The view of M42 in the binoscope was spectacular, with the ‘wings’ of nebula seemingly wrapped around the Trapezium stars.
The view showed also better contrast as well as the beautiful 3-dimensional effect.  Using a set of Takahashi Abbe and LE eyepieces at magnifications between 28x and 180x was easily accomplished and we had no trouble merging the images. The X & Y adjusters worked perfectly to ‘stack’ the images.
I have since then also spent a few hours viewing the Moon. Using the Takahashi Abbe 18mm eyepieces, the Moon took on a 3-dimensional look and seemed to just float there against the blackness of space almost as if I was in orbit above it.
I must also acknowledge Range for his excellent work in producing the cradle and adapters for me, they too are working faultlessly.
I have some photographs here, taken at the Mount Stromlo Observatory, which you may also use if you wish.
Kind regards,
Matt Saarikko
Garran Australia
Comment by Matsumoto / 管理者のコメント

Dear Matt,

It is amazing!
Nothing is more happier New Year’s gift than such a report!
I can post your report both in my user’s report corner and my FACEBOOK at a time, can’t I?
You wrote your experience so eloquently that I feel as if I were there.
The mount is the traditional one in structure, but very well made and it looks very rigid.
The craftsmanship of Range on the frame is superb, too.
 I do wish you the best of look of this year with your fine Binoscope!
Best regards,
Tatsuro
英語が母国語でない方も、ぜひスルーしないでメールの原文をお読みください。簡潔な文で、EMS-BINOの魅力を雄弁に語っておられます。
15cm単鏡筒+双眼装置を圧倒したのは当然(たとえ10cm-BINOでも同様だったでしょう)ですが、理屈で論破するよりも、ユーザーさんの実体験はより説得力があります。^^ 分解能等を持ち出して、単体鏡筒+双眼装置の優位性を主張する方もいますが、今回のリポートにはそれを十分に喝破するものがあります。
フレーミングや架台のご選択も、確実で無難な方法であり、初めてのBINOとして正解だったと思います。赤道儀の極軸を垂直に立てた構造の経緯台は、かなり昔からマニアが用いて来た方法ですが、ウェイトの代わりにもう一台のBINOをセットすると、シンメトリックな外観になりますね。架台としては、よりシンプルな解を探したくなりますが、蛇足を加えてせっかくの正月のリポートをスポイルしてはいけないので、今回はここまで。
これ以上の正月のプレゼントはありません。^^
  Mattさん、ありがとう!!

A simple dot-finder bracket / ドットファインダー用ブラケット

I usually cut the bracket out of the needless finder-bracket, but I would like to propose a simple idea of making one when you have no appropriate junk parts for it.
不要なファインダー脚のブラケット部を切り出しても良いですし、それが無いときには、こんなアイデアはどうでしょう。 使用環境によって、任意の長さ(高さ)に設定しやすい構造です。支柱部分が丸棒なので、好みの高さに加工しやすいはずです。